phpMyAdmin was created so that users can interact with MySQL through a web interface. In this guide, we’ll discuss how to install phpMyAdmin in Ubuntu 20.04 system.
1. Type the following command in command line
 $ sudo apt update
 $ sudo apt install phpmyadmin php-mbstring php-zip php-gd php-json php-curl
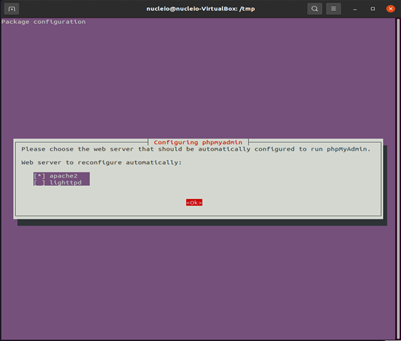
The image below will show. Hit SPACE, TAB, and then ENTER to select Apache.
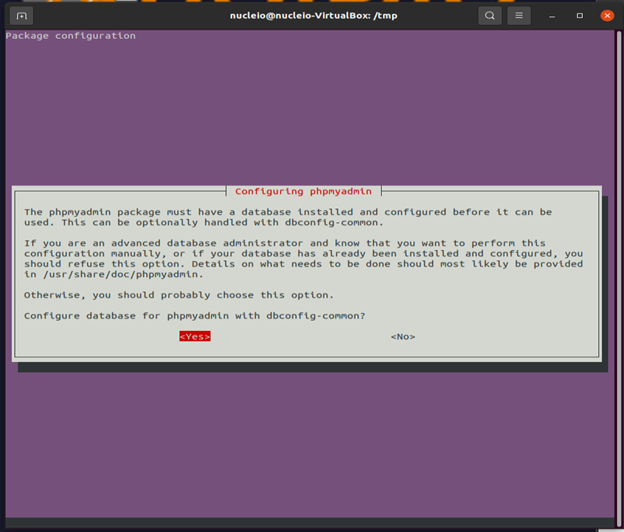
Hit enter to select yes, then confirm password.
If the image below appears, select abort then enter.
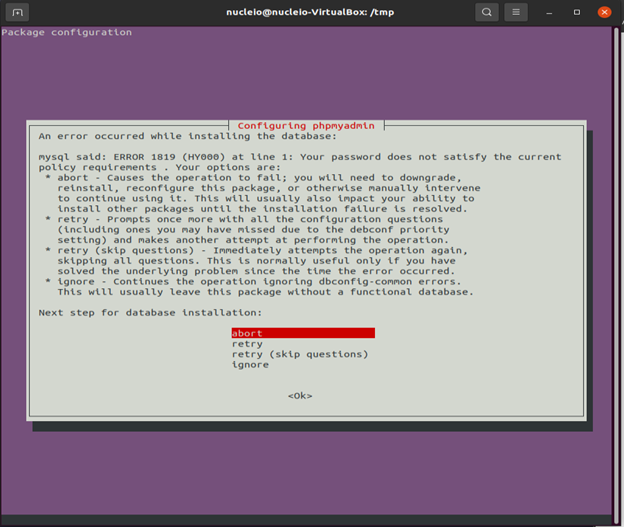
In order to resolve this issue, open up your MySQL prompt:
$ mysql -u root -p
Then type the following:
 mysql>  UNINSTALL COMPONENT "file://component_validate_password";
 mysql>  exit
2. Install phpMyAdmin
$ sudo apt install phpmyadmin
Then open up again your MySQL prompt and install the following:
mysql> INSTALL COMPONENT "file://component_validate_password";
mysql> exit

After installing the component type:
$ sudo phpenmod mbstring
$ sudo systemctl restart apache2
3. Adjusting User Authentication and Privileges: Open up your MySQL prompt then type the following:
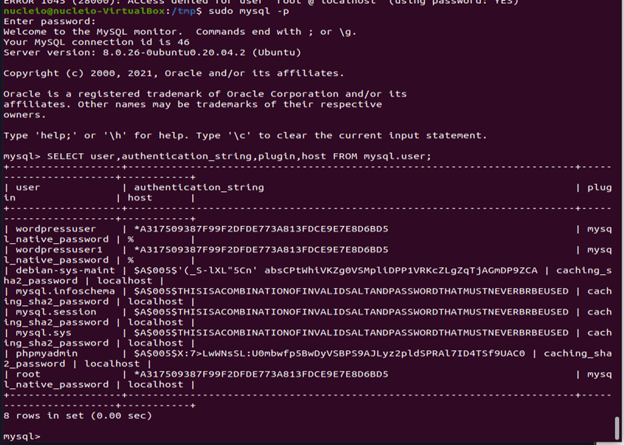
$ sudo mysql -p
mysql> SELECT user,authentication_string,plugin,host FROM mysql.user;
Type this command and be sure to change and set your own password.
mysql> ALTER USER 'root'@'localhost' IDENTIFIED WITH caching_sha2_password BY 'password';
Some versions of PHP don’t work reliably with caching_sha2_password. if you encounter an error when trying to log in to phpMyAdmin later on, you may want to set root to authenticate with mysql_native_password instead:
mysql> ALTER USER 'root'@'localhost' IDENTIFIED WITH mysql_native_password BY 'password';
Then type the following in your MySQL prompt:
mysql> SELECT user,authentication_string,plugin,host FROM mysql.user;
It will show the following results:
4. Configuring Password Access for a Dedicated MySQL User
$ mysql -u root -p
Type the following and change the username and password
mysql>  CREATE USER 'sammy'@'localhost' IDENTIFIED WITH caching_sha2_password BY 'password';
mysql> GRANT ALL PRIVILEGES ON . TO 'sammy'@'localhost' WITH GRANT OPTION;
mysql>  exit
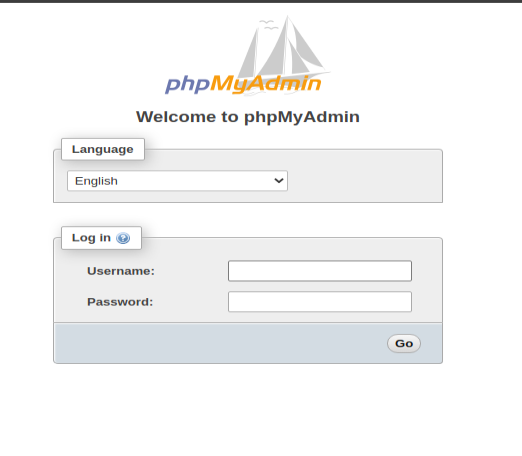
5. You can now access the web interface by visiting your server’s domain name or public IP address followed by /phpmyadmin. It should show the following image.
https://your_domain_or_IP/phpmyadmin