In today’s world, where remote work and online communication have become the norm, it is essential to have a reliable VPN solution that can ensure the security and privacy of your network. Pritunl Server is a powerful, open-source VPN server that offers a wide range of features and functionalities to help you secure your online communications. Here is a step-by-step guide on how you can use and setup your own pritunl server.
Initial Setup
- Navigate to this link and choose the OS that you are using: https://docs.pritunl.com/docs/installation.
- After installing the pritunl and mongodb, go to your browser and enter your ip address on the search bar to access the pritunl server.
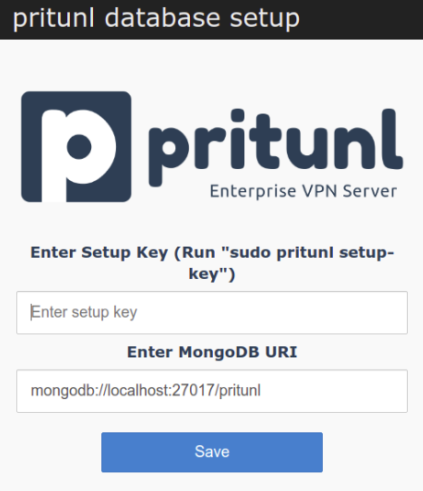
- Pritunl database setup will appear on your browser. Follow the instruction and run the command “sudo pritunl setup-key” on your terminal to get your setup key.
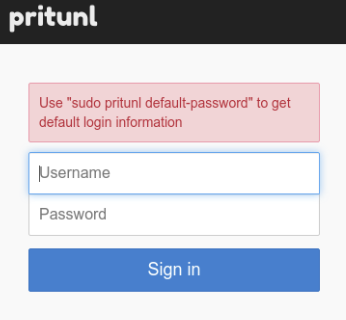
- Get your default username and password by running the command “sudo pritunl default-password” on your terminal. You can change this later after you logged in.
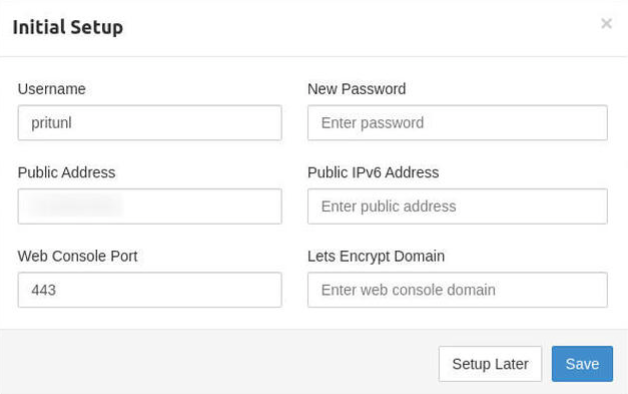
- Finish your setup by clicking Save after changing the username and password if you want.
Configuring your server
Before you can start your server, you first need to have users and organization.
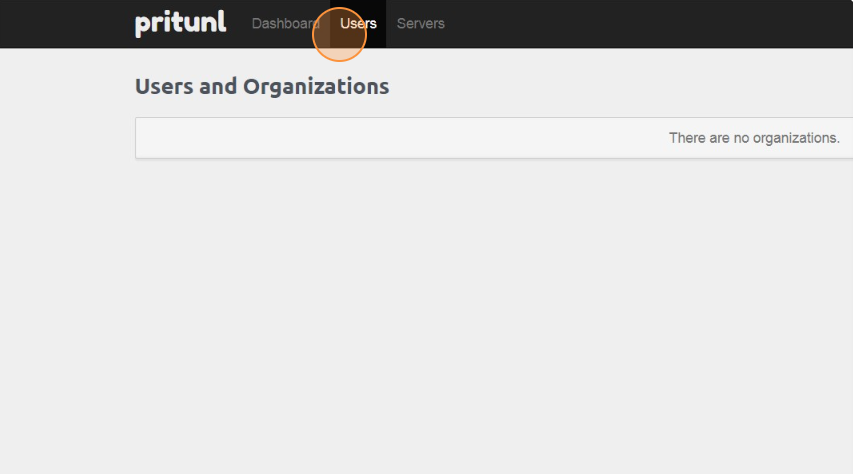
- Go to the users tab on your dashboard.
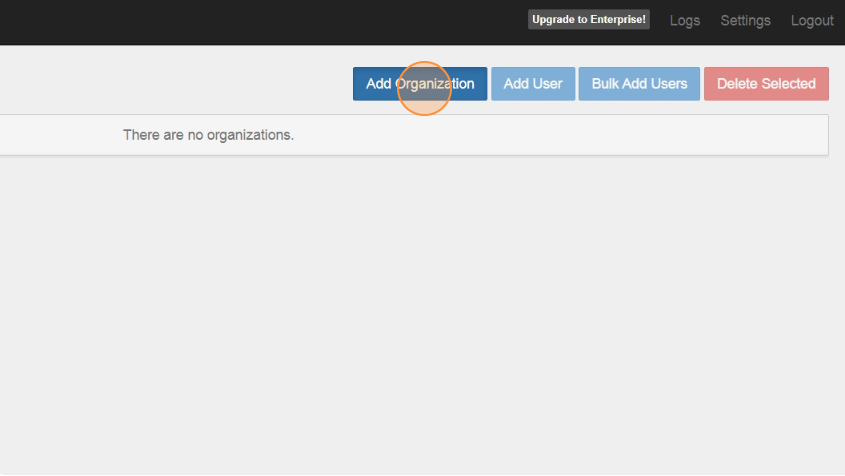
- Click Add Organization and enter any name you want.
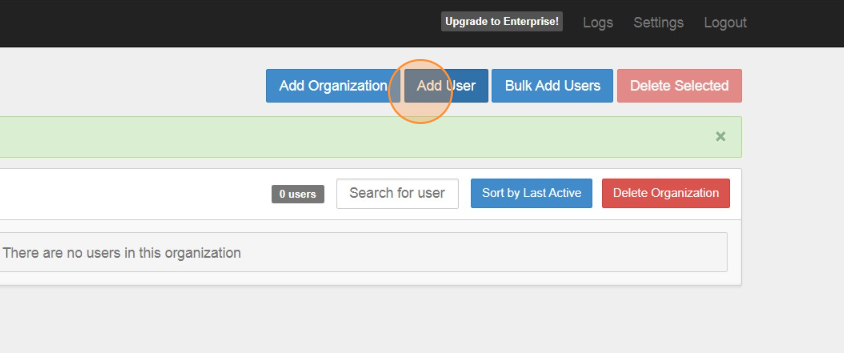
- Now, click Add Users. You can input any name you want for the user and also attach email and pins to their account.
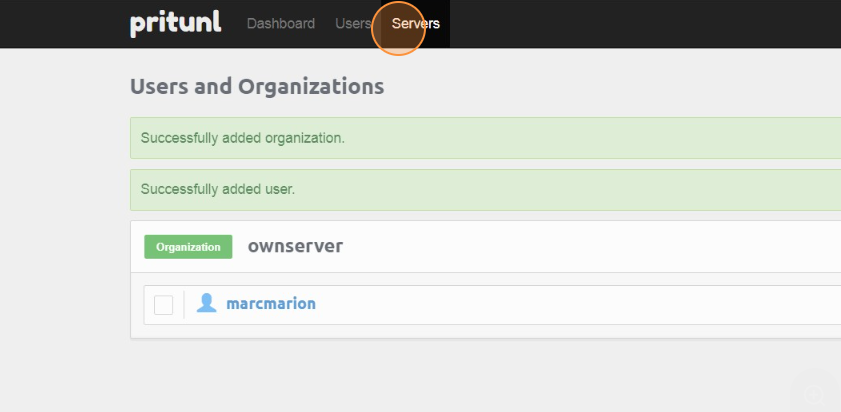
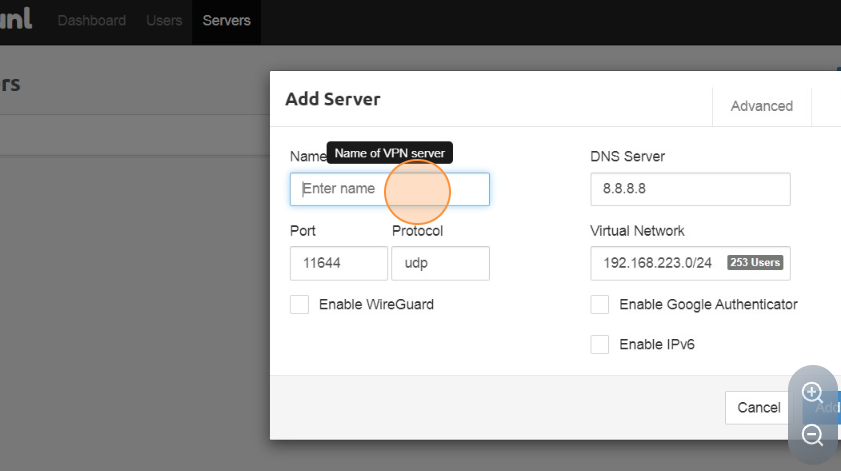
- Go now to the servers tab and click add server.
- Enter any name for your server and click Add to create your server.
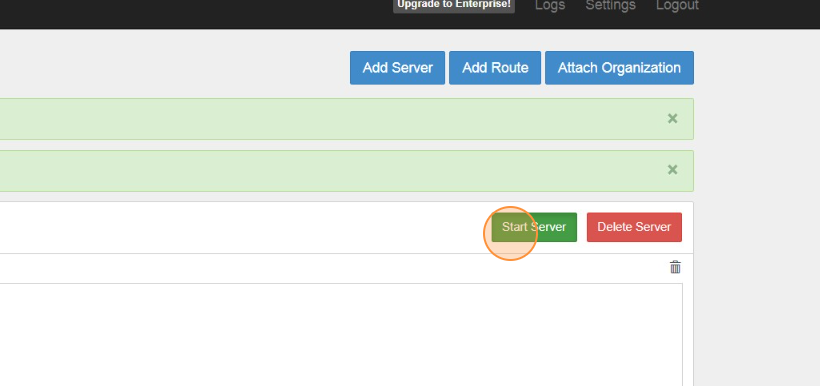
- Click Attach Organization to add your organization to your server.

- Click Start Server.
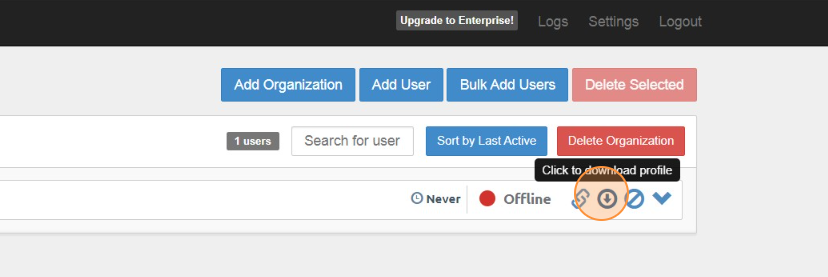
- Go back to the users tab to download the user profile.
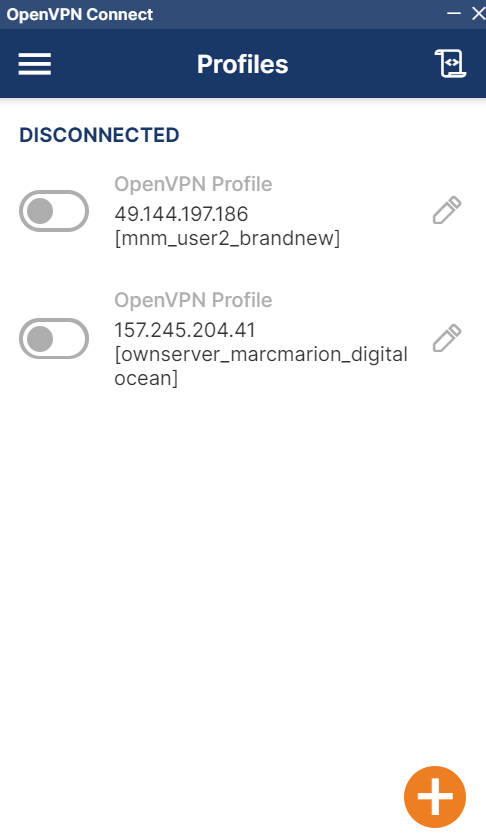
- Import that file to your openvpn connect. Fill out each fields to complete your account.
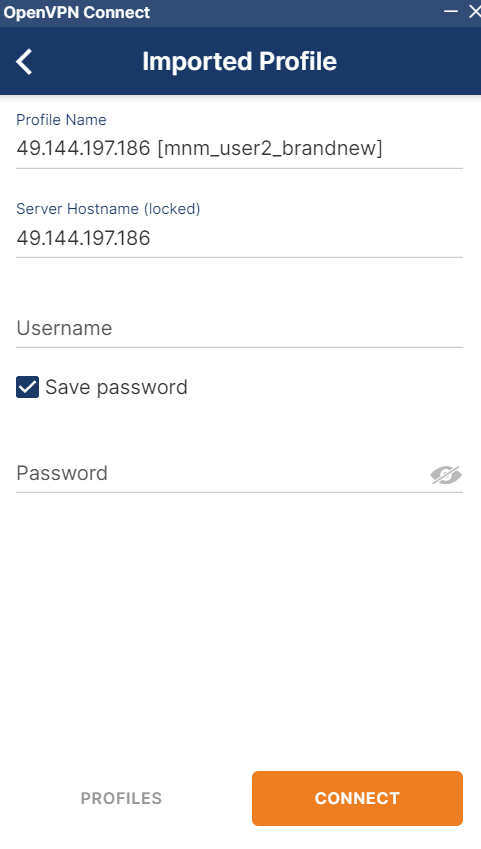
- Click the toggle button to connect to your server.