Welcome back to the final part of our blog series on cPanel, where we dive deeper into the world of managing emails. In this installment, we will be focusing on one crucial aspect: accessing and navigating cPanel emails for our clients. Whether you’re an aspiring web developer or a seasoned professional, understanding how to effectively handle cPanel emails is a must-have skill in today’s digital landscape. In the following guide, we will teach you through the process of accessing and managing cPanel emails with ease.
Cpanel Walkthrough
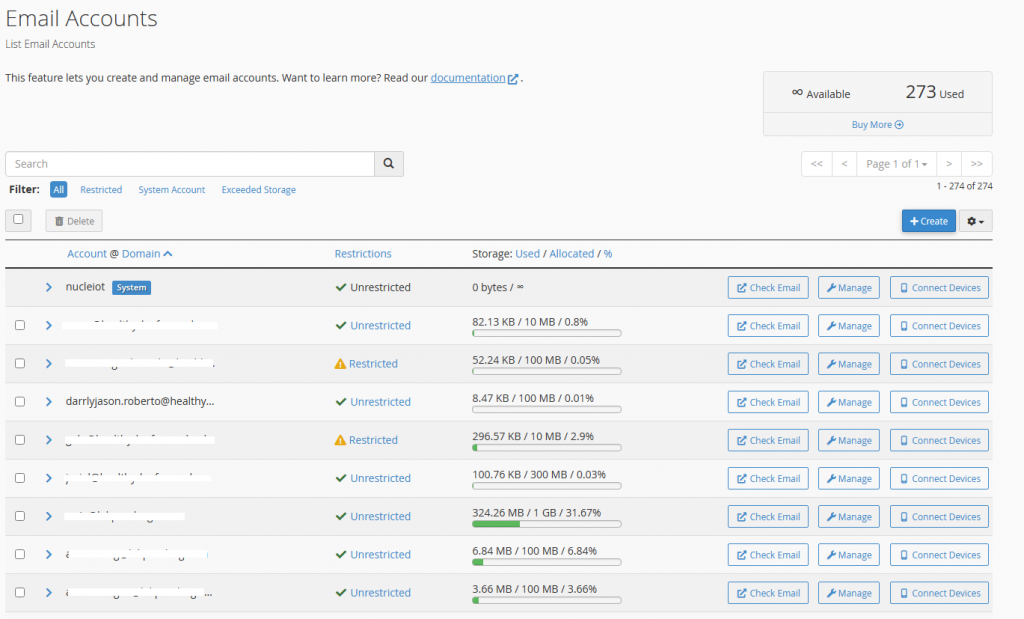
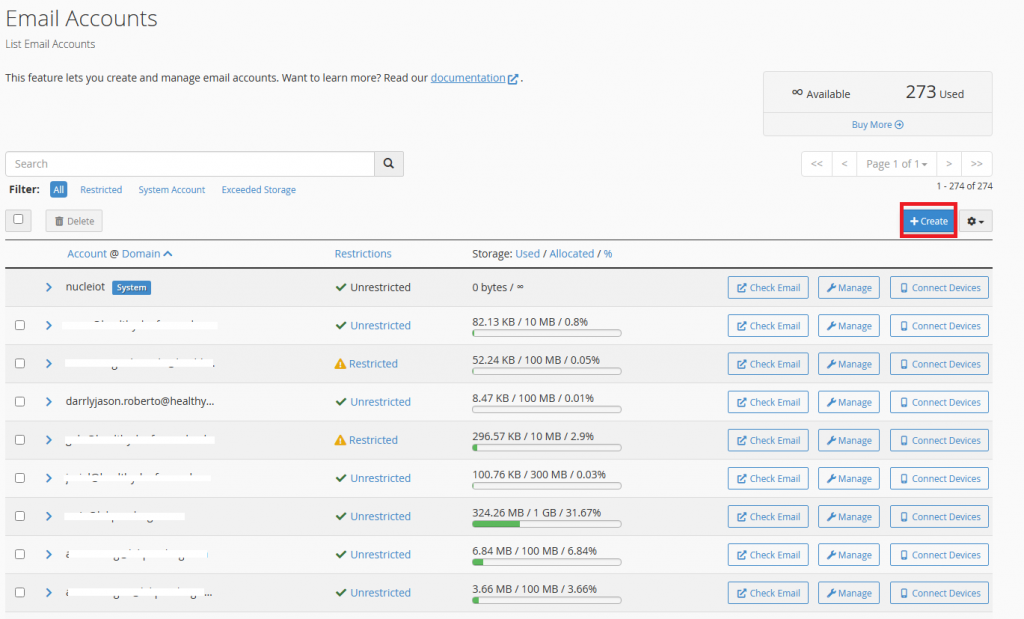
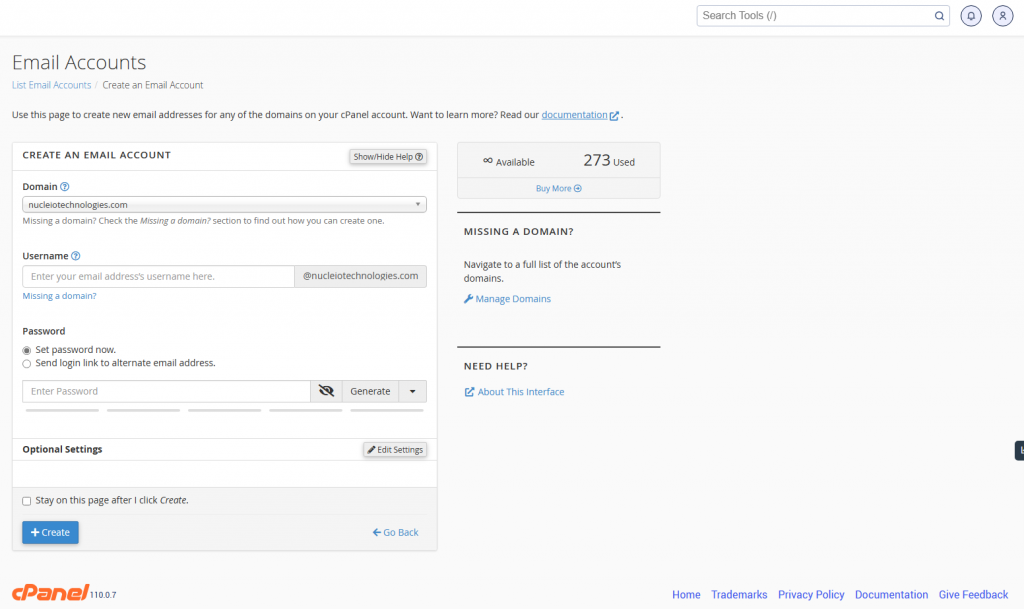
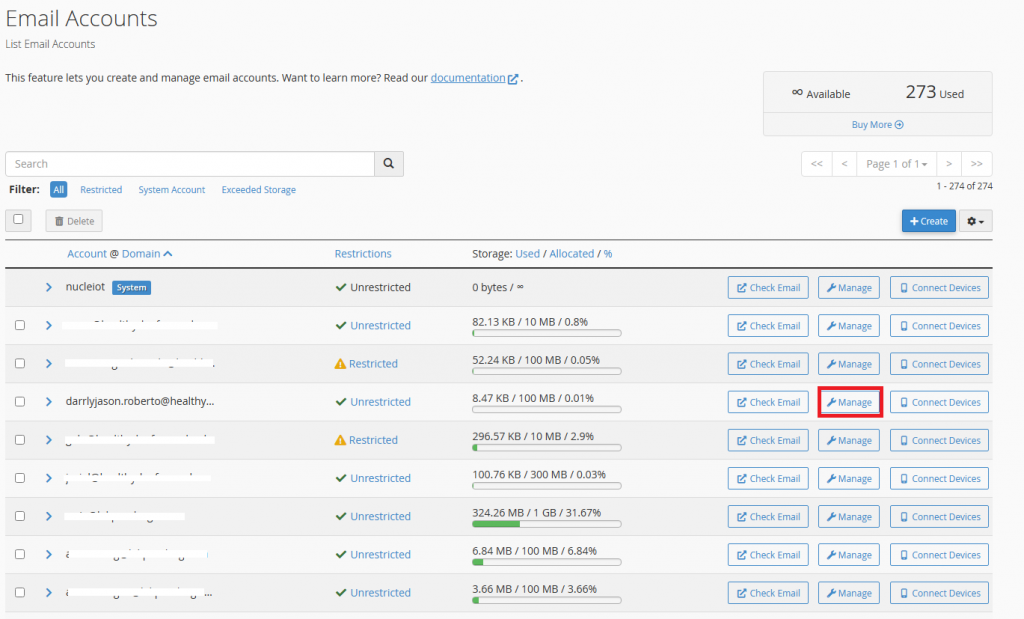
Creating an Account
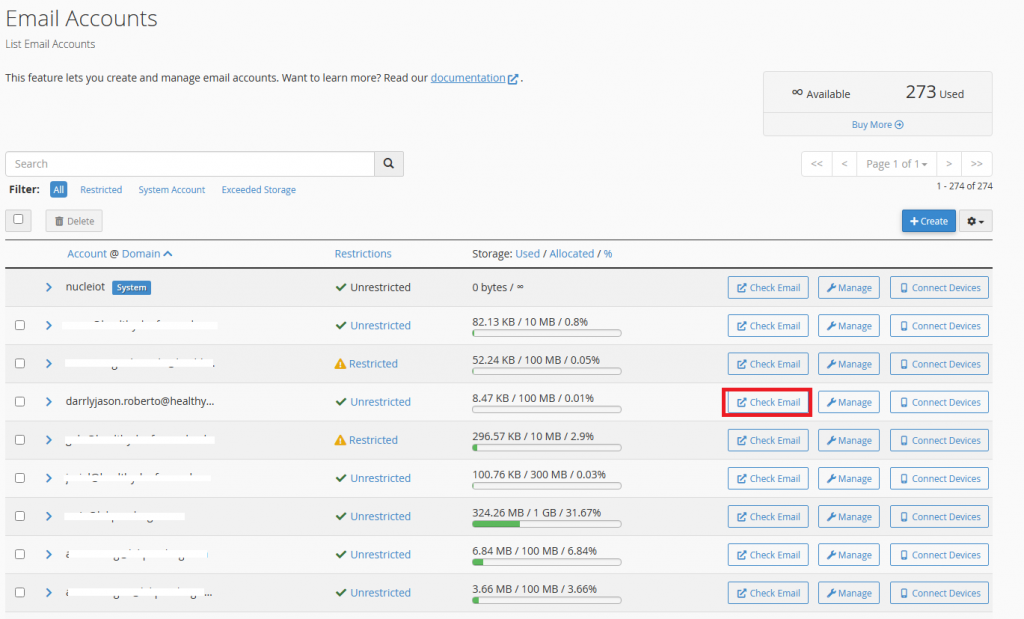
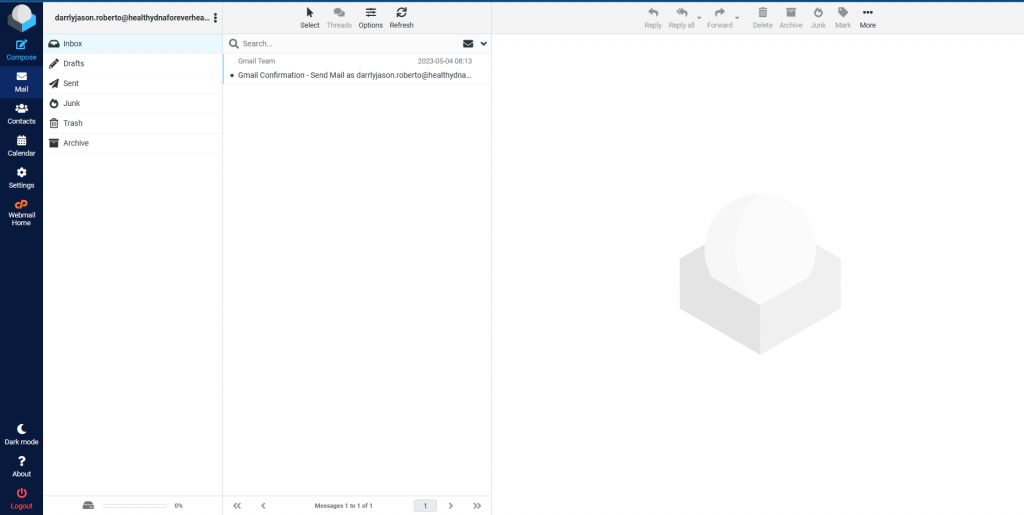
Checking Emails
Managing Emails
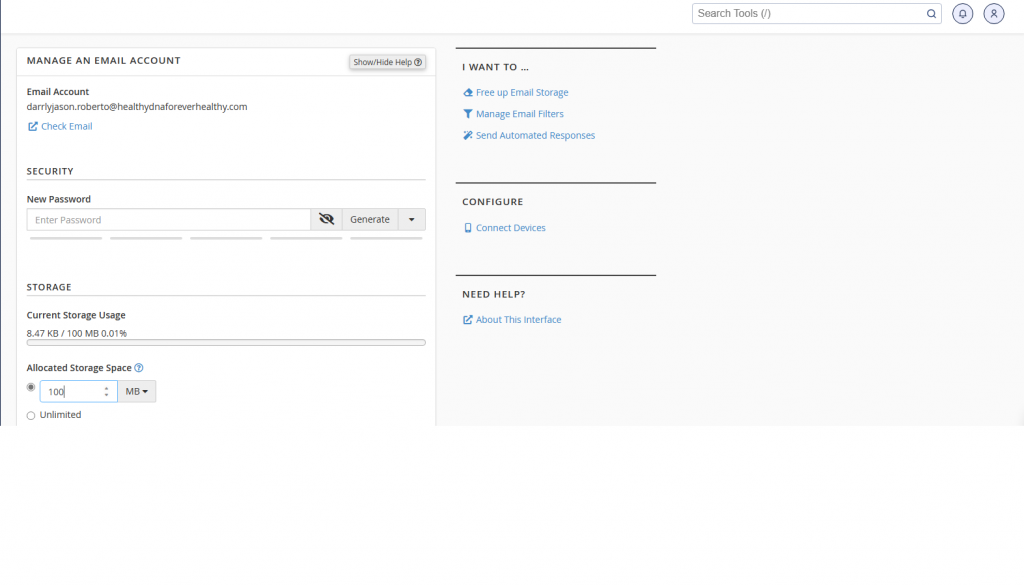
In our case in nucleiotechnologies, we are updating the storage when the bar becomes orange with an increment of 100 mb, 200 mb, 500 mb, 1 gb, 2 gb, 3 gb subsequently.
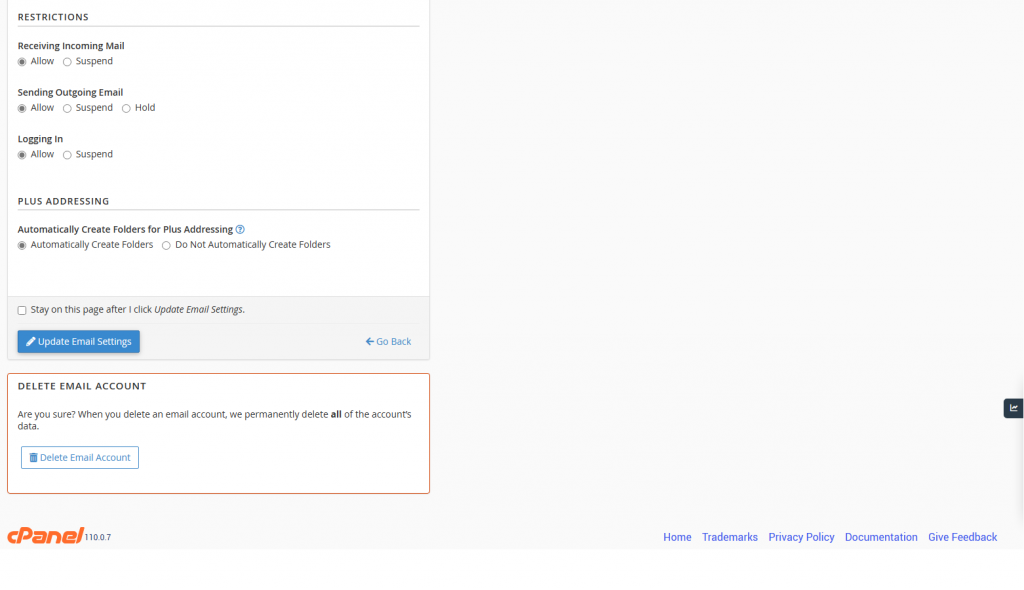
Note: The Delete Email Account is nearby so becareful in this page.
Conclusion
To create a new account, simply click on the Create button and choose your desired Username and Password within the indicated domain. If you wish to read emails, click the Check Email button. For managing emails, access the UI by selecting the Manage button. In this section, you can update your password and storage settings. Once you have provided all the necessary information, proceed to update the Email Settings. Keep in mind that the Delete Email Account option is located nearby, so exercise caution while navigating this page.