A command-line interface (CLI) is a text-based user interface (UI) for running programs, managing files, and interacting with computers. Command-line interfaces, also known as command-line user interfaces, console user interfaces, and character user interfaces, are a type of command-line interface. CLIs take keyboard commands as input; the commands submitted at the command prompt are subsequently executed by the computer.
Using command is the only way to interact with computers way back in the 1960’s. However, it is still used today in system administrators, servers, and many installations of software that are not available in the graphical user interface
In this blog, we will make a simple CLI project to get started to automate your commands or task. We will not use bash script in this tutorial. For creating CLI apps, Node.js is an excellent choice. Node.js has libraries for reading and writing files, running other programs, and basic network connection built-in. Aside from that, npm hosts thousands of packages for just about any task you can think of.
Prerequisites
- The latest version of Nodejs (LTS)
- Any text Editor
Get started
Step 1
Open your terminal and make a new folder
mkdir CLI_nodejs
Navigate your folder and initialize a Node.js project in that folder.
cd CLI_nodejs
npm init
Step 2
Building the basic CLI
- Create a folder named bin in the root directory of your project.
- Inside bin create a file called index.js This is going to be the entry point of our CLI.
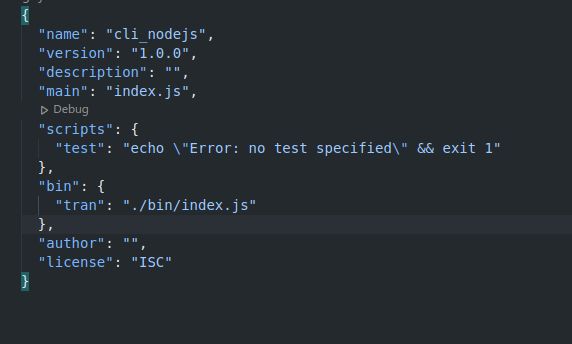
- Now open the package.json file and change the “main” part to bin/index.js.
- Now manually add another entry into the package.json file called bin and set it’s key to tran and it’ s value to ./bin/index.js. The addition should look something like this:
Step 3
Open the index.js file in the bin folder. And put the following code in it:
! /usr/bin/env node
console.log("Hello World!");
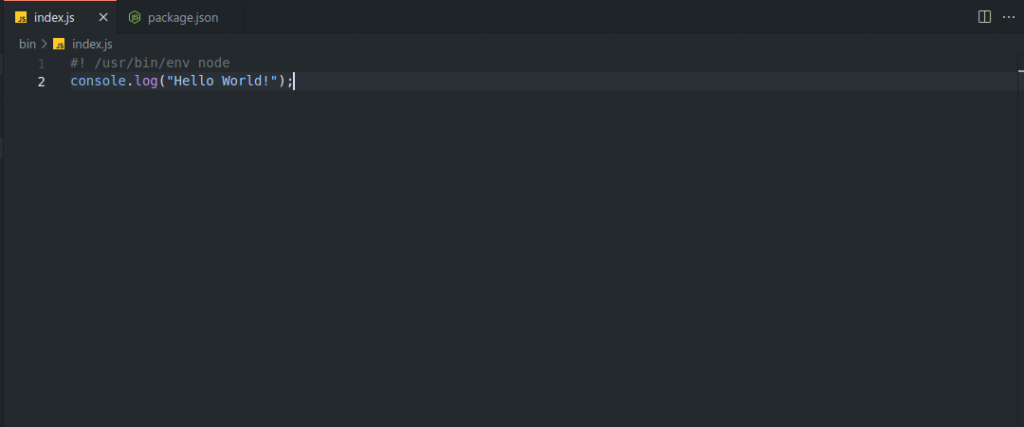
The first line starting with #! is called a shebang line or a bang line. A shebang line is used to specify the absolute path to the interpreter that will run the below code. The shebang line used here is for Linux or UNIX type systems but node requires it for Windows and macOS too, for proper installation and execution of the script.
Step 4
Run the project by navigating your folder first and enter this command:
npm install -g .
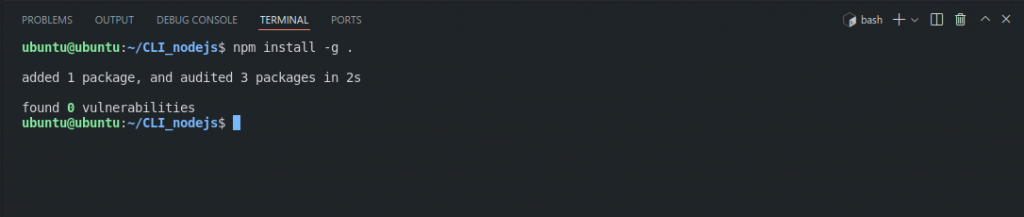
Now the project is installed in your machine, you can try to run the command by using the tran command you set in the package.json

Note: There are many packages available in npm that are used for developing Cli project.
Learn how to make a bash script?
Reference
https://www.youtube.com/watch?v=dfTpFFZwazI&ab_channel=JamesQQuick
https://dev.to/rushankhan1/build-a-cli-with-node-js-4jbi
https://www.techtarget.com/searchwindowsserver/definition/command-line-interface-CLI