Do you ever find yourself adding something to your photo but does not work due to the perspective? In this tutorial I will be showing how you can do this with the vanishing point filter in photoshop.
I will be using a photo from Pexels by Megan Forbes. And for this I will be adding a text on the wall according to its perspective. you can add other objects as long as it fits the photo.
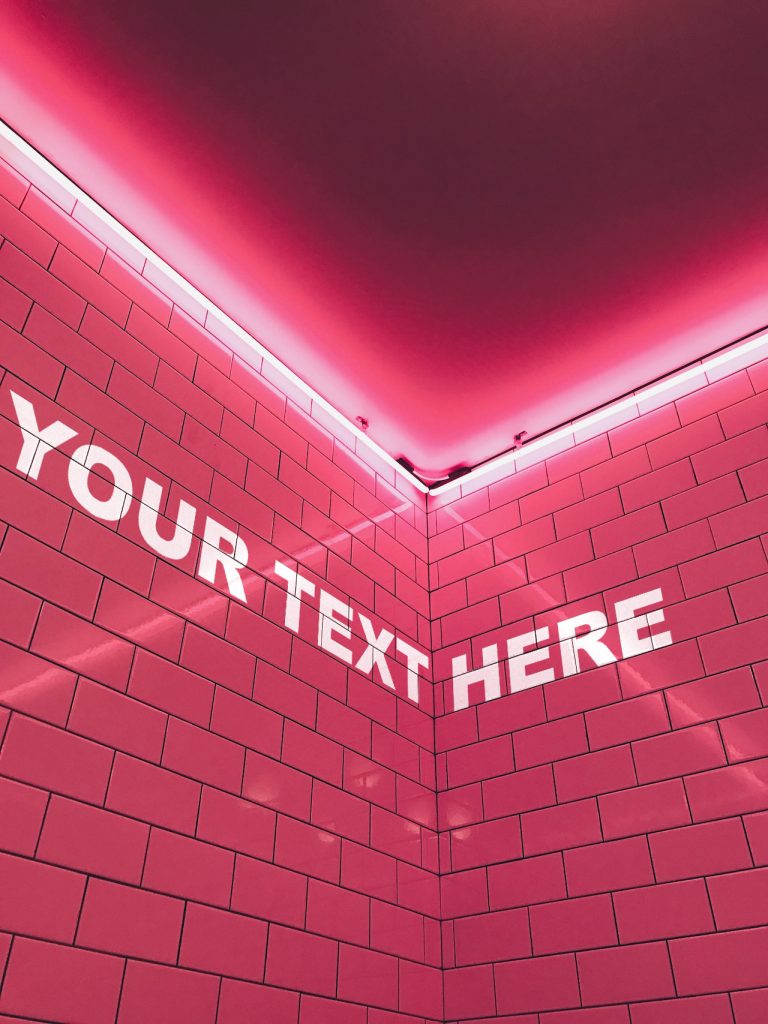
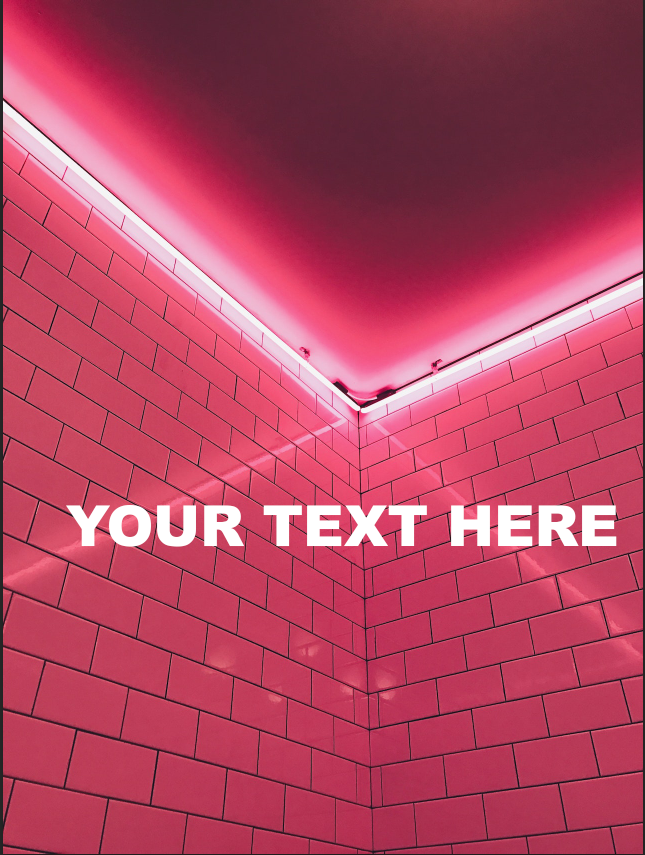
To start, import the photo in photoshop and add the text to be displayed on the wall. I will just use “YOUR TEXT HERE” as an example but you can do whatever you want.
Initially you will have a photo with a text like the photo below. Don’t worry about the perspective yet first we will copy the pixel outline of the text first.
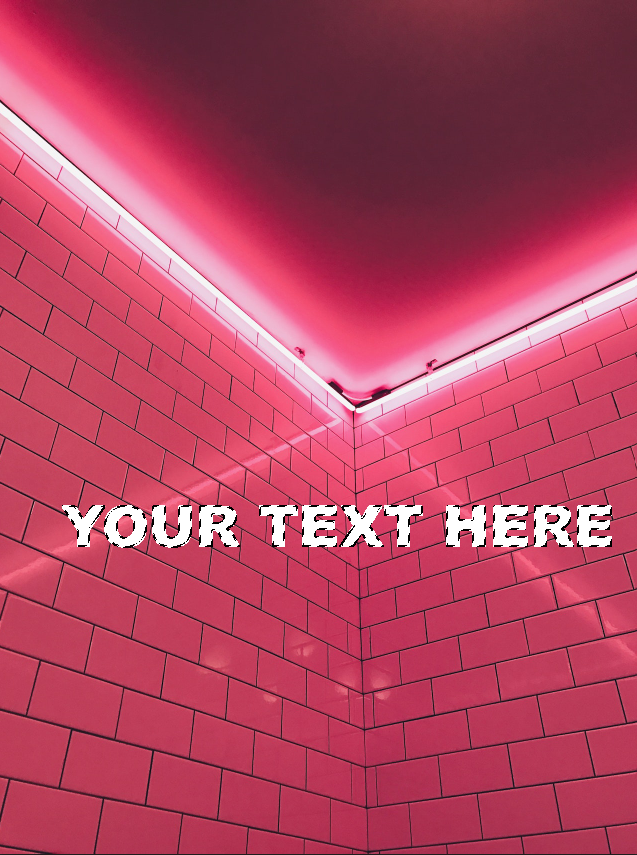
Make the text as big as you want and then after that on the text layer right on the “T” right click and select Select Pixels. This will create a selection on the text you created, copy the selection with ctrl+c as you will be needing that on the next steps.
After copying the selection you can now deselect it by pressing ctrl+d. Hide the layer by clicking the eye next to the text leyer.
Exploring the Vanishing point filter
Next step create a new layer and then you will go to Filter>Vanishing Point, from there a new window will pop up and now you will be drawing the perspective of the wall.
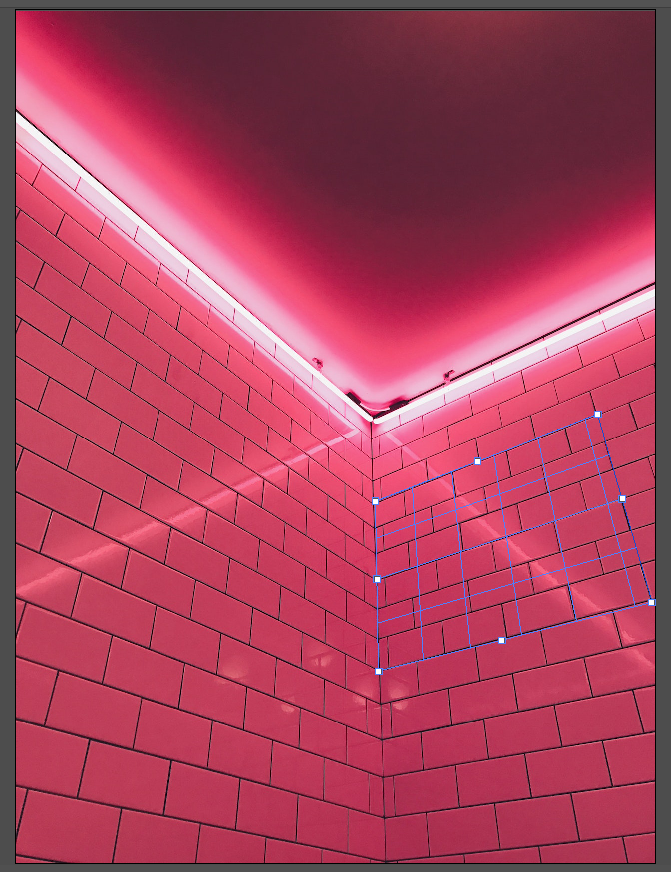
To extend the drawn perspective to the other side of the wall press C on your keyboard and drag the center point of the plane. Hold alt as you drag the plane towards the other side of the wall.
Once satisfied press ctrl+v to paste the text selection you copied earlier. Place your text according to where ever you want it to be. Press ok once done.
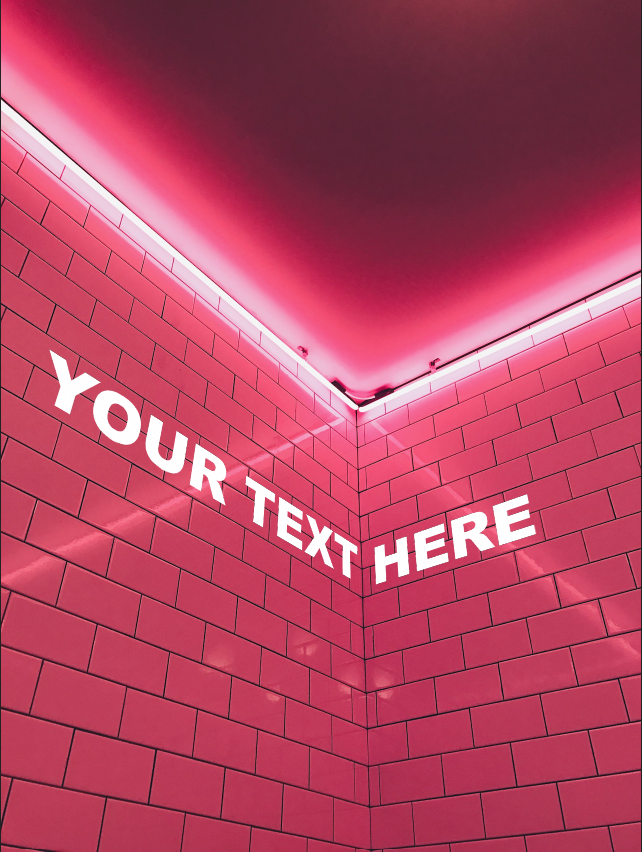
You should end up having a photo like the one above. Final touches to the photo is to adjust the layer Blend option and blend mode according to what object you added to your photo. And that’s it you successfully learned how to add objects according to perpective.
Here is a video about vanishing point: