What is Composer?
Composer is a PHP application that is used for standard dependency management. In order to execute the application the team is currently developing, Composer makes sure all developers are utilizing the same package versions.
Installing Composer
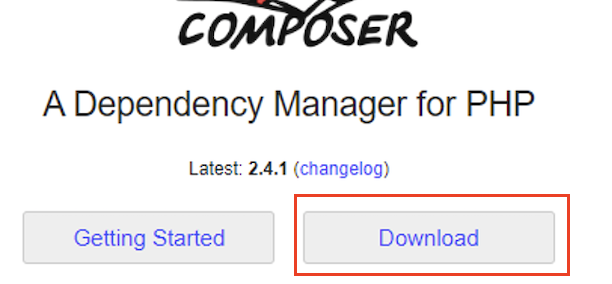
To begin the installation, go to the official site of Composer.
Select the Downloads tab.
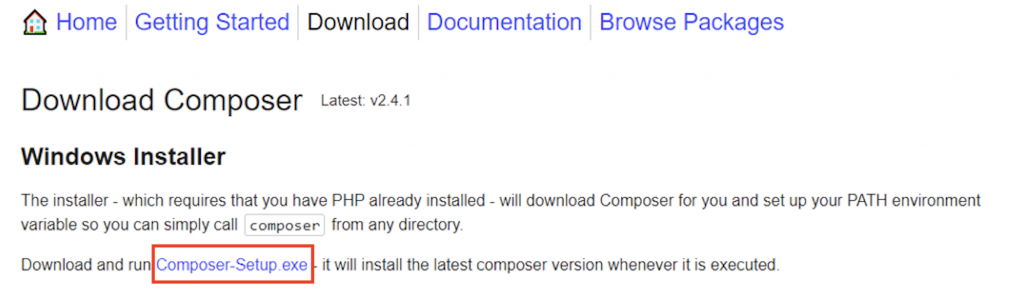
Here you see the Windows Installer and click on the Composer-Setup.exe to download the installer file.
Note: PHP must be installed in your system, otherwise you cannot install Composer.
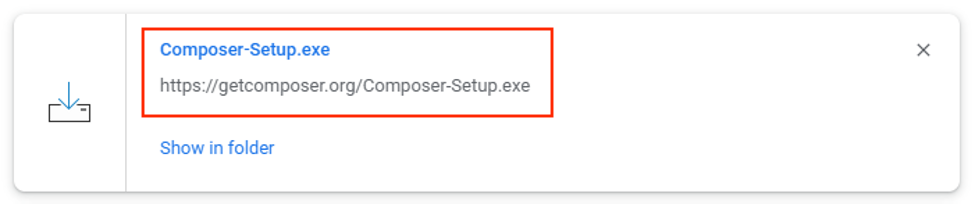
After downloading the file, an executable file will appear. Double-click on the .exe file to launch the installation procedure.
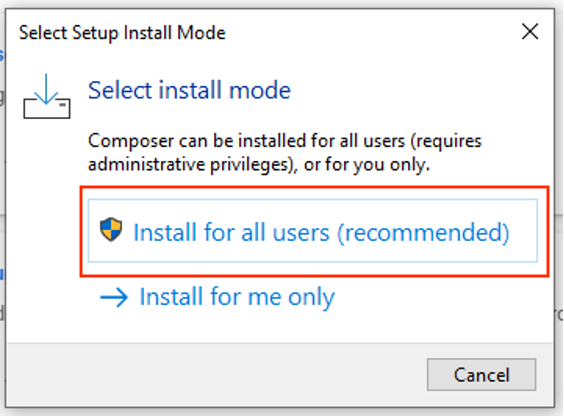
Select the recommended installation mode (Install for all users).
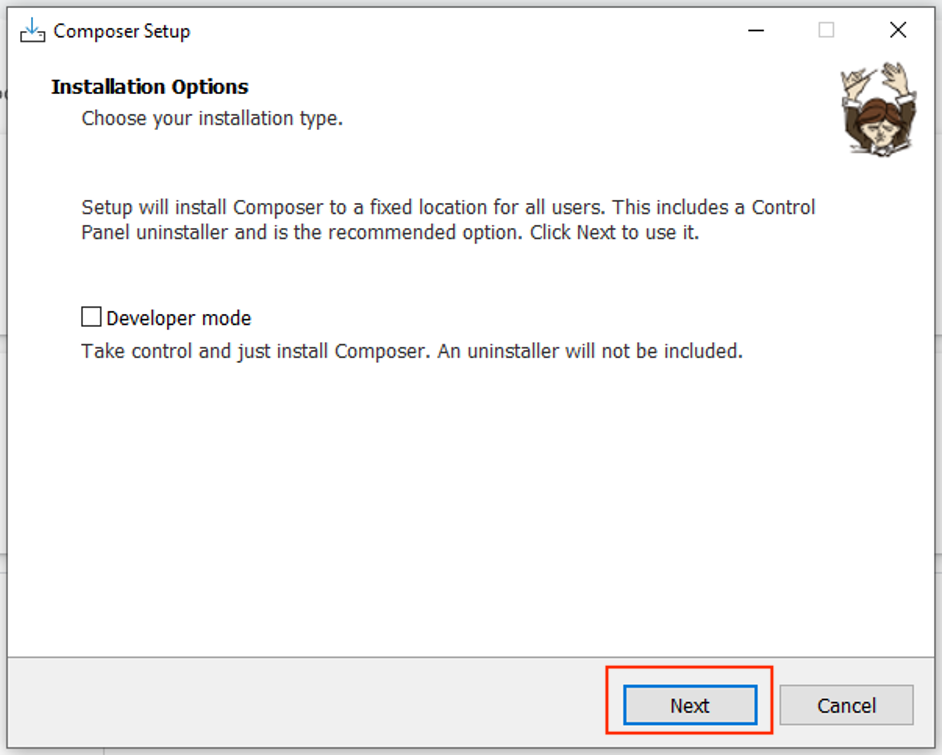
Do not check the Developer mode checkbox and proceed to Next.
Tips for beginners: Do not check/tick the Developer mode checkbox for you will not be able to easily uninstall the file.
Click Next.
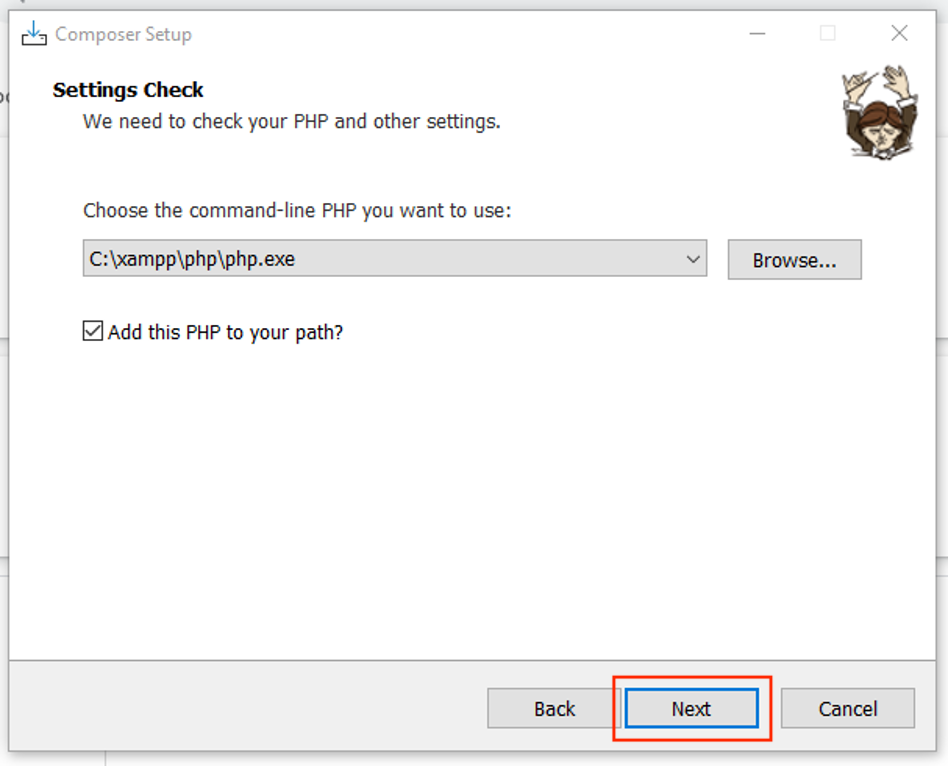
The PHP path should be detected. If the path to php is not identified automatically, click Browse.. to locate the php version you want Composer to use. Then, click Next.
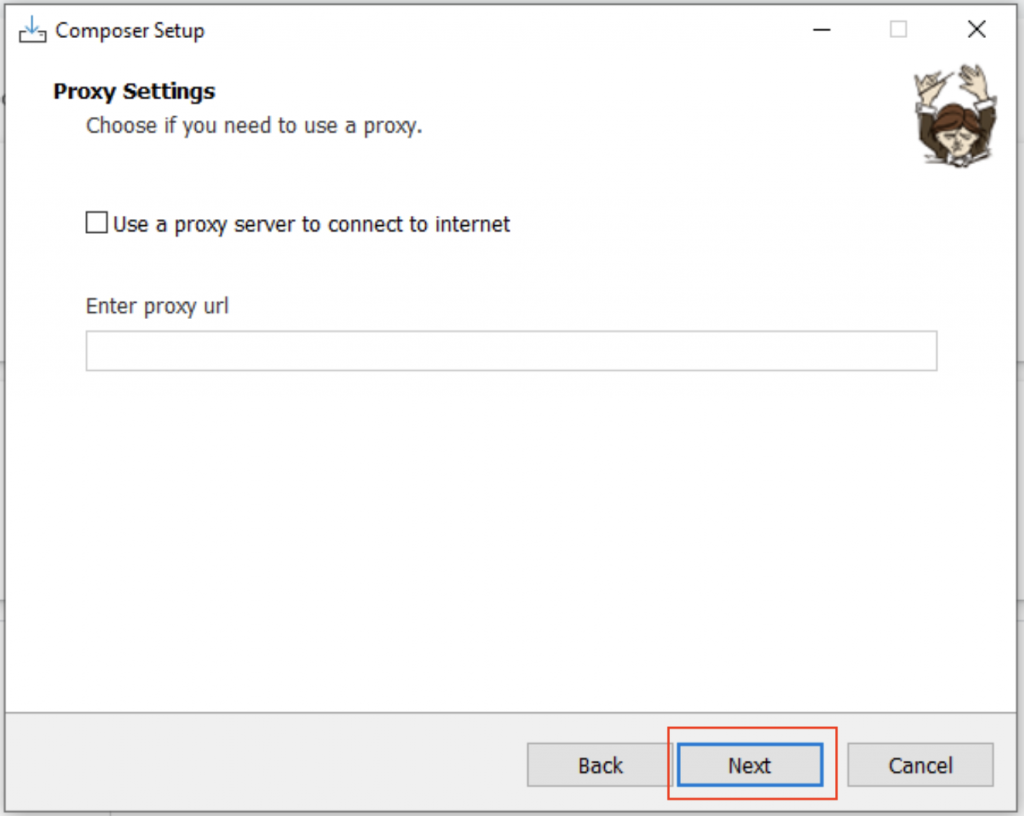
Make no changes and then click Next.
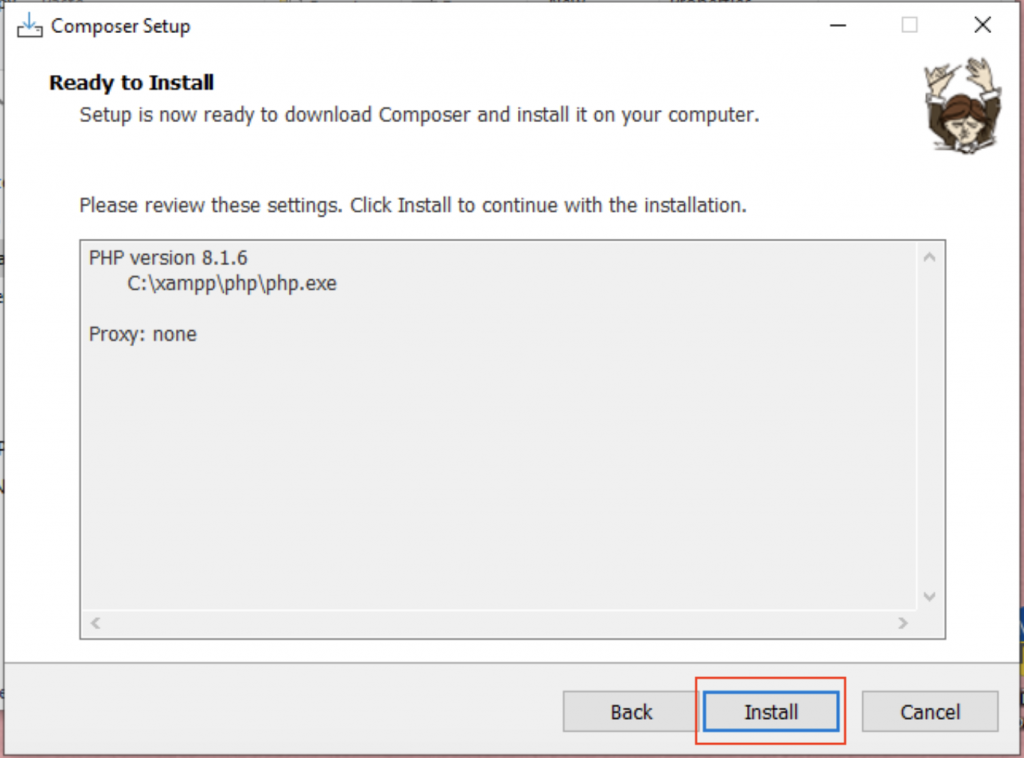
Here shows the PHP version used. Review the settings shown. If the settings are correct, click Install to begin the installation.
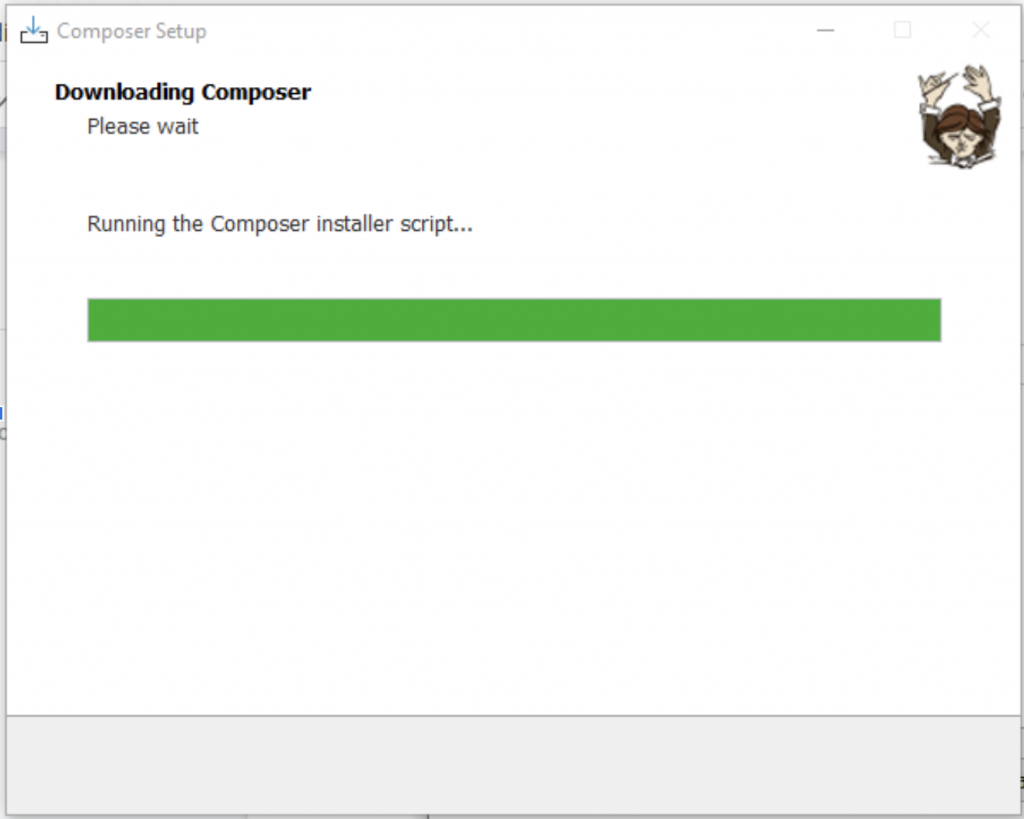
Wait for the installation to complete.
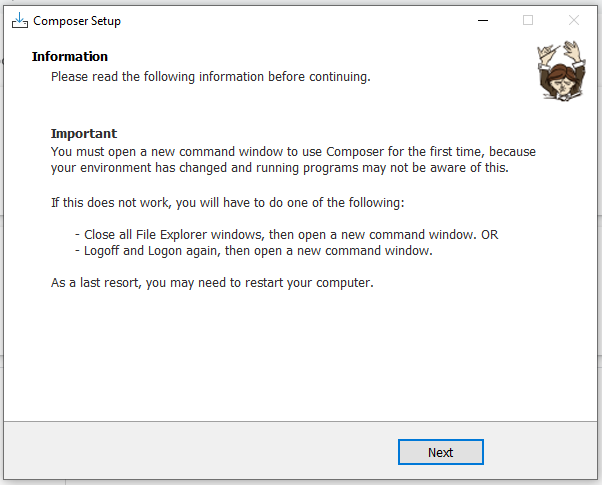
Installation is complete. Read the information, then click on Next.
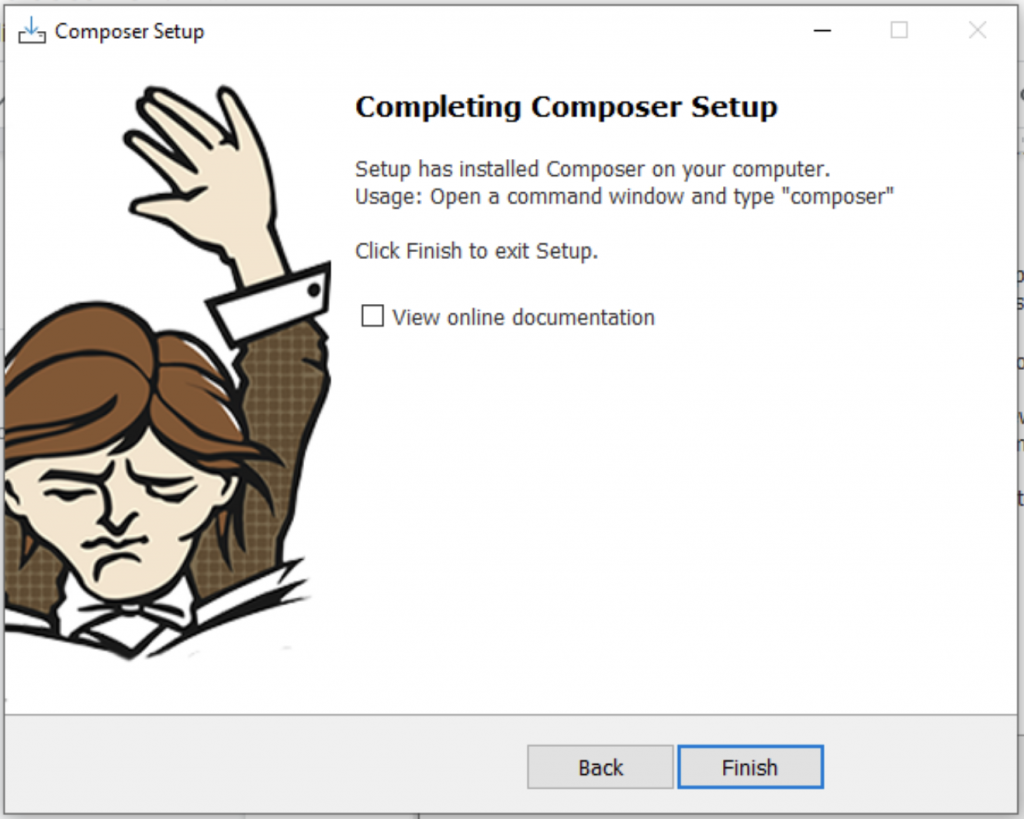
Composer has been successfully installed, click Finish.
Checking Composer on Command Prompt
To check if the Composer was installed, go to command prompt or type cmd on the search bar, and type “composer”.
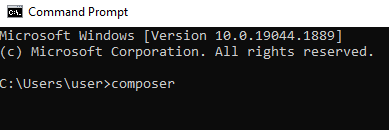
This should appear in the command prompt.
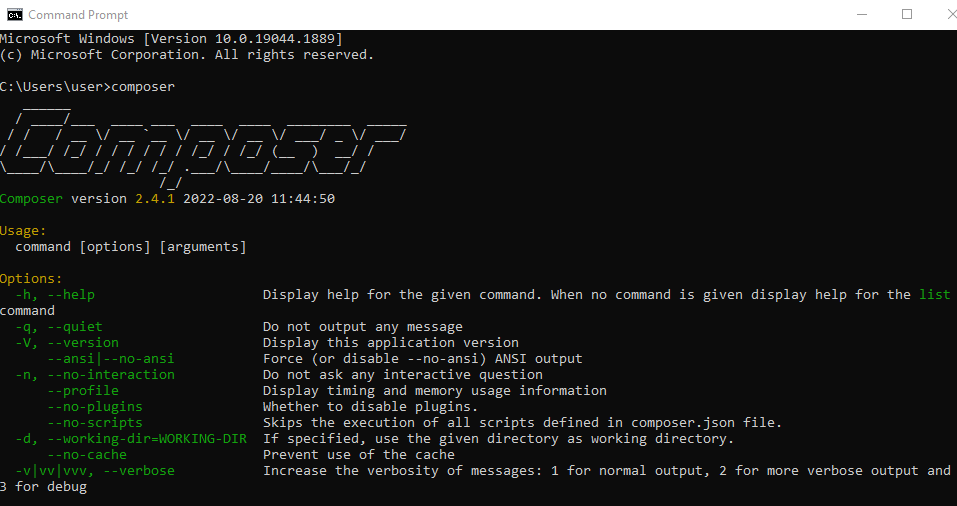
Also the available commands are listed.
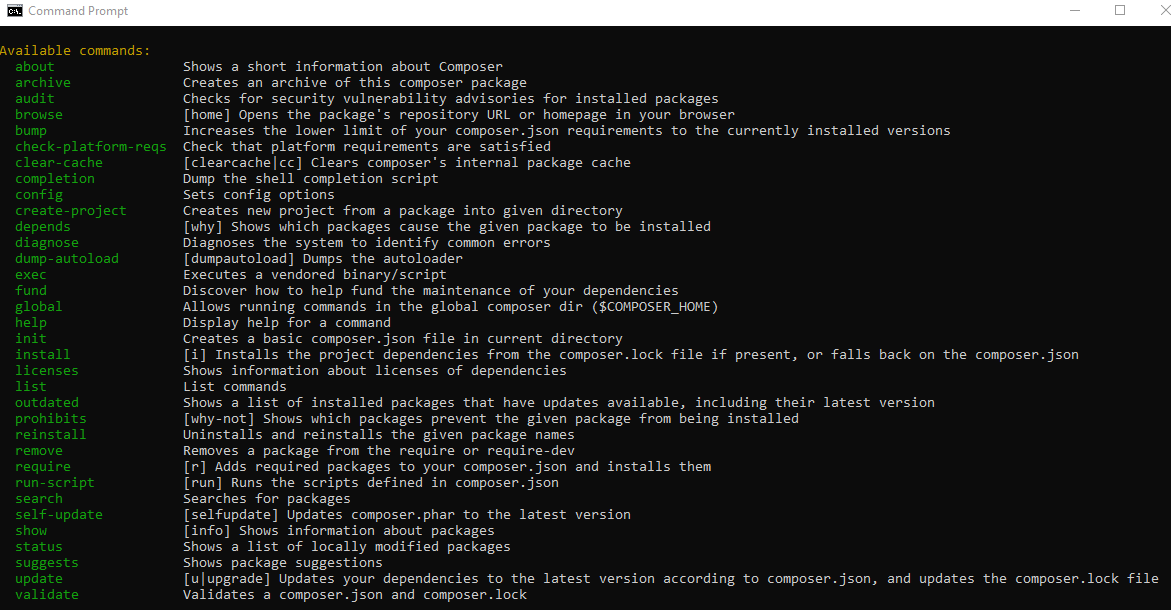
And done! Composer is now installed.